How to Refinish Hardwood Floors
Refinishing hardwood floors requires a lot of effort and diligence. However, a refinished floor can add an incredible element of beauty to any home. It can be costly to hire a professional to sand, seal, stain, and coat the floors. Therefore, many homeowners opt for refinishing hardwood floors on their own. For more details on how to refinish hardwood floors and turn your floors into a stunning masterpiece, keep reading.
Step 1: Sanding Off Old Finish
Sanding hardwood floors in order to remove the old finish is typically the first step in the process. You will probably need to rent a walk-behind floor sander that features a rotating drum that easily removes the finish. A handheld power edge sander for sanding in doorways, corners, and tight walls should be rented as well. Prior to sanding hardwood floors, you should wear eye protection and a dust mask to ensure you stay safe during this step.
Step 2: Prepare Floor for Finishing
Once all sanding has been completed, you should use wood putty to fill in any spots. When the wood putty is all dry, the areas should be lightly sanded by hand with a piece of fine sandpaper. Next, all dust should be removed from the walls, floor, and molding. This can be done by wiping down the molding and walls so that the dust makes its way to the floor. When all the dust is collected on the floor, a vacuum with a dust filter will need to be used in order to clear the floor.
When you are done with vacuuming, the entire floor surface should be wiped down with a tack cloth, which is specifically designed to remove loose particles of dirt, lint, and dust that may contaminate a surface that is to be finished. You may have to use several tack cloths so it’s a good idea to purchase more than one.
Step 3: Choose Your Finish
There are a variety of finish options on the market. The type of finish you select should be based on the way you’d like your floor to look. One of the most common types of finishes is known as polyurethane. Polyurethane is water or oil based and gives off a plastic look. The majority of the time, polyurethane finishes darken. Polyurethane is an excellent choice for high-moisture or high-traffic floors.
Another finish option is Varnish. Varnish is available in a number of different matte and glossy lusters. The glossier the finish is, the more durable the surface will be. This type of finish normally darkens with time. For a natural looking finish that showcases the grain in the wood, penetrating sealer is the optimal choice. If you opt for penetrating sealer, keep in mind that it offers less durability than varnish or polyurethane but is the easiest to spot repair.
Step 4: Start the Sealing Process
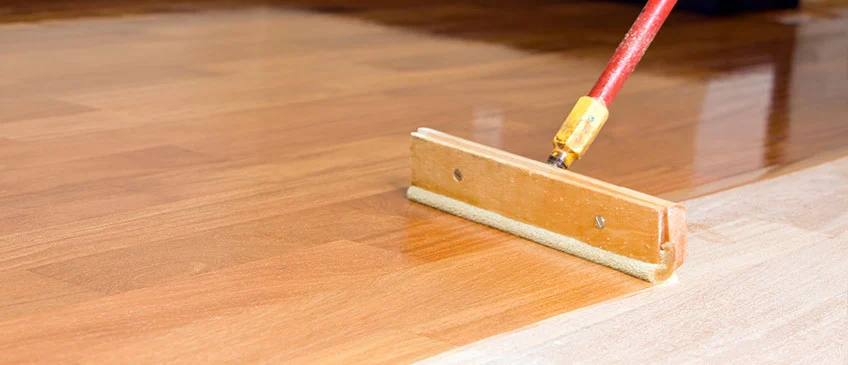
Sealing should occur the same day you are finished with sanding hardwood floors in order to prevent the wood surface from moisture absorption. The stain and sealer should be evenly applied with a sheepskin applicator. It’s vital to be cautious and avoid applying too much sealer so that it doesn’t seep into the wood and pool on the surface.
Step 5: Secure the Finish
After the sealer is dry, you should buff the floor with No. 2 steel wool. Then, vacuum and wipe the floor like you did before with a tack cloth. Dust should be removed between finish coats in order to avoid a rough floor. Next, apply the first of two coats of the floor finish that you’ve selected and allow the finish to dry between coats. Lastly, apply the final coat and wait at least 24 hours after the coat dries before you add furniture into the room.
There you have it. A step-by-step guide on how to refinish hardwood floors and add a taste of pure elegance to your home.