Learn How to Paint Kitchen Cabinets
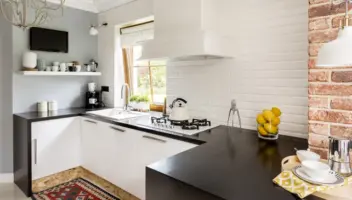
Looking for a way to refresh your kitchen? If you kitchen cabinets are in good shape, a fresh coat of paint can easily brighten and spruce up your kitchen. The best part is, this DIY kitchen makeover can be tackled on your own. With a few materials, and a little bit of your time, you can quickly transform your kitchen to the space you have always dreamed of.
To help guide you through the process, LeafFilter has come up with our top tips for how to paint cabinets.
Step 1: Get Prepared
Gather your tools and materials that you will need to paint kitchen cabinets. Then, clear your schedule. Expect the project to last a few days.
Tools and materials for your shopping list:
- Fine grit sandpaper and sanding block
- Tack cloth
- Paint applicator
- Primer sealer
- Painter’s tape
- Semi-gloss paint
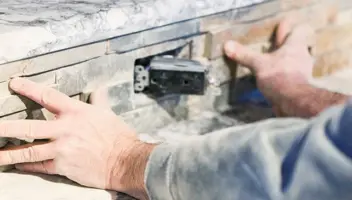
Step 2: Remove Doors and Hardware
Now that you have gathered your materials, let’s get started on how to paint cabinets!
Start by removing cabinet doors and drawers. Remove all pulls, knobs, latches and hardware from the cabinets. You’ll want to place any screws or hardware that you collect in a baggie so they don’t get lost.
The trick here is to stay organized when removing the cabinets. One way to do this is to number each door and its corresponding location as your remove them. Mixing up any of the hinges or screws will make it difficult to put your kitchen back together.
Step 3: Clean Everything
Kitchens can get dirty. With grease, steam, food splatters, etc., you’ll want to give your kitchen cabinets a deep cleaning before painting. A great cleaning solvent is made from one part tri-sodium phosphate and four parts water. Be careful not to soak the cabinets in water. Too much water can damage the wood on your cabinets. Allow them to dry thoroughly before the next step.
Step 4: Sand and Prep
Lightly sand the doors using a handheld sander. There is no need to remove all of the paint entirely from the cabinets. Sanding simply provides a clean base for the paint to better adhere to. Pay close attention to any shiny areas. You want to make sure that you are deglazing the finish and roughening it up so that the paint goes on smoothly.
Step 5: Apply a Primer-Sealer
After you have sanded your kitchen cabinets, apply an event coat of primer-sealer to all surfaces. Primer-sealers provide a good base for semi-gloss, water-based paint. Semi-gloss paint is the preferred finish for kitchen cabinets because it is a durable finish and resists stains and water on contact.
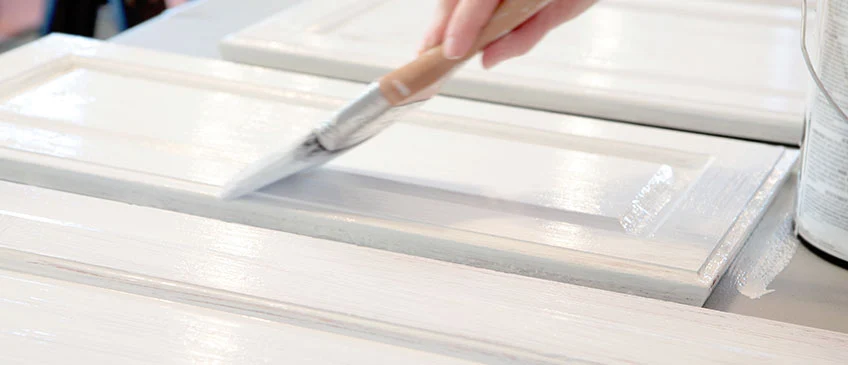
Step 6: Paint Kitchen Cabinets
Now the transformation begins! Start by painting the inside edges and openings of the face frames, then the outer cabinet sides, and then the face frame fronts. By using this method, you’ll be able to work quickly in less critical areas and see any drips or smudges in the most visible areas.
If you are dealing with any raised features on your kitchen cabinets, be sure to put paint in the crevices and corners, but make sure that it is not accumulating in these spots.
The best way to apply paint is in thin, light coats. Also, be sure to not overwork the paint brush. This can actually create air bubbles and will prevent you from achieving that smooth finish.
After allowing the paint to dry for at least four hours, lightly sand the cabinets to prepare for a second coat. Two coats of paint will usually do the trick, but it may take three coats in order to complete the job.