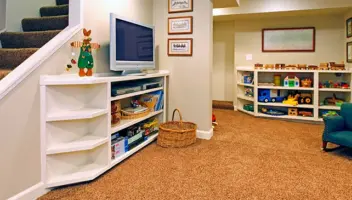
Finishing My Basement – Part 2
If you’ve already read Part 1 of my 3 part series about finishing my basement, you’ll already be up to speed on what’s next. But, if you haven’t, after you’ve planned your project, selected your contractor, gotten financing and begun the process of framing your space, now the fun begins. Now is the time when your space starts to really look like a finished basement. Here are the next big things to really start thinking about.
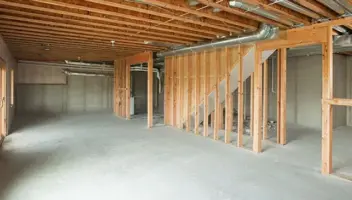
Step 4: Electrical, Plumbing and HVAC
Once you have the basic framing done or pretty close to being done, your “trades” will need some time in your space. Make sure you take the time to meet with your contractor and trades and really map out where you think you’ll want things.
For electrical, take a look at what your upstairs area looks like for a basic idea of electrical needs – outlets, light switches, etc., and lay it all out on paper beforehand so that the electrician can get an idea of what you want for the space and then let him tell you what he would recommend. Do the same for your lighting needs. For me, I was out of my comfort zone and went with what the electrician recommended. Sometimes it’s best to rely on who you hire to give you the best plan of action.
Next is plumbing. Are you adding a bathroom? Does your space already have the sewer lines roughed in for a bathroom? If not, locate your sewer line and look to the fastest and best route to that line for both your toilet and bathroom sink. At this point, you’ll be dealing with an added expense of breaking through your basement floor to add the necessary plumbing. And it can get pretty expensive.
If you are adding a bathroom, make sure you install a vent fan in the space. In years past, it wasn’t code, but now, in order to pass inspection, every bathroom must have a vent fan (at least in Ohio). Rely on your plumber and electrician to know what is code, but it also doesn’t hurt to brush up on what is required in your particular state and county in order to pass inspection.
Quick Tip: Make sure you get your electrician to install smoke detector boxes in your ceiling if you have ones that are hardwired together. This will ensure your new space (and your family) is protected from harm. Plus, it’s code.
You might also need to meet with a heating and cooling person. They will make sure your space will be properly heated during those cold winter months and cooled during the hot summer. Installation of additional duct runs is not overly expensive, depending on your space and what is already there, so take the time now to get it done right.
Step 5: Insulation
Once all of your heating, cooling, electrical and plumbing is complete, you’ll be ready to insulate your exterior walls. There are a couple different options when it comes to insulation. You can go with a spray foam insulation, which can get pretty expensive and more than likely needs to be done by a professional, or you can go the route of insulation bats. There are many options when it comes to insulation and it all comes down to how insulated you want/need your space to be. Typical exterior bat insulation has a value of R-13, and you can purchase it in packs of pre-cut panels or in continuous rolls that you have to measure and cut yourself. The rolls tend to be a bit cheaper, but you’ll be cutting each piece yourself. The slightly more expensive, but less manual choice is to go with a pack of pre-cut bats. The most commonly sold R-13, pre-cut bat pack assumes that your wall cavities are the standard 8ft tall by 16” wide, so if your walls are not standard height or width, you’ll need to cut each of these as well to fit your wall cavities.
Insulating your exterior walls is an important step to prevent mold, mildew, pests and to keep the temperature regulated in your space. You can choose to insulate your interior walls at the same time, but it isn’t necessary. You might also want to consider insulating your bathroom walls for more privacy.
[lf_slider autostart=”false” interval=”4000″ arrows=”true”][lf_slider_entry]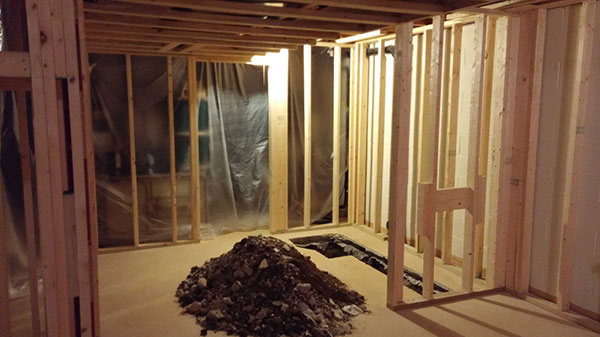 [/lf_slider_entry][lf_slider_entry]
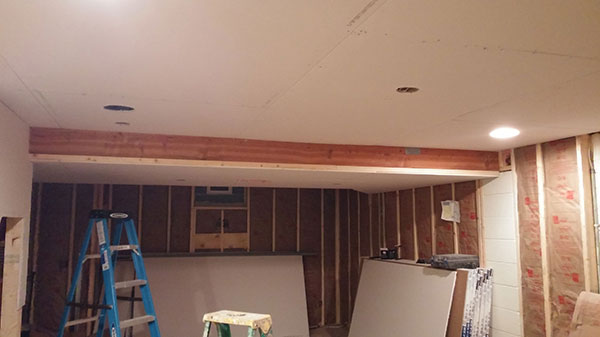 [/lf_slider_entry][lf_slider_entry
 [/lf_slider_entry][lf_slider_entry]
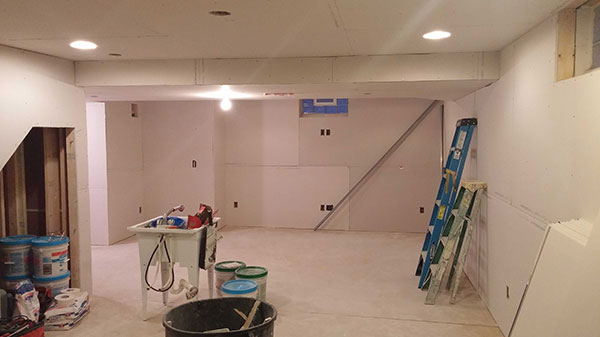 [/lf_slider_entry][/lf_slider]
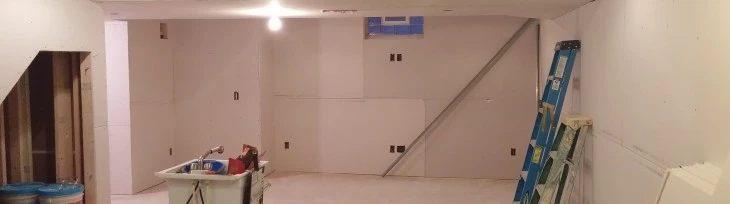
Step 6: Drywall
After your space is insulated, it’s now time for drywall. This can be a lengthy process depending on the size and complexity of your space, but it is crucial this is done correctly and relies heavily on whether or not your framing was done well. Uneven walls and errant nails in your framing can really make your finished drywall look bad. So make sure to go around and inspect the framing and fix any imperfections at this stage to prevent lots of headaches down the line.
Once all of the drywall is hung, all of the seams and cracks will need “taped and mudded”. This is a paper tape product combined with a drywall compound that will seal your seams and give you that flat wall look. All seams, cracks, nails, and screws will need to be covered by drywall compound with at least 2 coats and then sanded smooth. 3 coats is even better.
Steps 5 and 6 are good step for DIY’ers to tackle. The projects are not too difficult, but do take some time and patience to do it right. And you really want to make sure this is done right. Because if the drywall is done poorly, when it comes time to paint and finish your space, you will see every little imperfection and it is very difficult to fix after the fact.
Once the drywall is sanded, you’ll need to decide what you want your ceiling to look like. Do you want a flat ceiling? A patterned ceiling? A mix of the two? This is when that step will be done. A flat ceiling is more work because you will need to mud and tape all of the seams and sand perfectly smooth prior to painting. If you are stippling your ceiling or adding a pattern, the mudding doesn’t need to be absolutely smooth prior to adding the texture. It’s all in personal preference and what you want your final space to look like.
Make sure to check back in a bit for Part 3 of this 3 part series. We’ll be discussing the finishing steps of your basement project – flooring, cabinetry, fixtures and paint!