Trimming Hedges 101

Unruly hedges can be a huge eyesore. Keeping them nicely groomed will drastically improve your curb appeal. You could hire a landscaper to trim the hedges for you, but it’s actually quite simple to do it yourself. Follow these four steps for perfectly trimmed hedges.
1. Get the right trimming tools
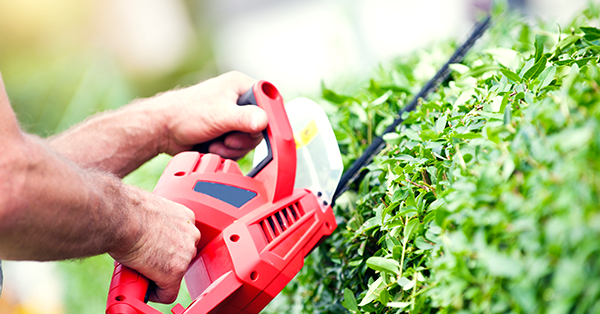
You can trim your hedges by hand using hand-held pruners or loppers, but if you’ve got a long row of hedges, you’re sure to become tired quickly. In this case, a good powered hedge trimmer is a must. You’ll get to choose between electric- or gas-powered trimmers, but there are some things to take into consideration.
Electric-powered trimmers are more environmentally friendly than gas-powered. However, with an electric-powered trimmer, you’ll need to remain aware of the placement of the cord at all times to avoid cutting through it. If you cut through the cord, you’ll not only render your trimmers useless, but you’ll also risk a fire.
Gas-powered trimmers may be the better option if you don’t feel comfortable with taking that risk, but it doesn’t come without its own drawbacks. Gas-powered trimmers tend to be heavier due to the weight of the fuel. That means you may become fatigued quicker, putting you at greater risk of an accidental injury. So, when it comes to choosing a gas- or electric-powered hedge trimmer, which is better? It’s a draw. Choose the tool you’d feel most comfortable with, because, either way, you’ll get the job done.
2. Stake it out
An even hedge is a must if you want a polished, professional look. This can be hard to achieve by simply eyeballing it. Instead, insert garden stakes of the same height at all corners of the hedge, and every 6” in between the ends. Once the stakes are securely in the ground, tie string or twine between each one at the intended height of the hedge. This will give you a nice guide to follow as you trim.
If you want a more elaborate hedge, you could also angle the stakes so that the hedge forms a keystone shape (it will have a larger width at the bottom than at the top). Typically, keystone-shaped hedges measure 24” across at the top, and 36” across at the bottom. Keystone-shaped hedges help to ensure that all of the branches are able to get access the optimal amount of sunlight.
3. Make the cut
Now it’s time to start trimming! By using your power trimmer and following your staked line, you’re sure to have a perfectly trimmed hedge in no time at all! Be sure to practice safety by wearing long pants, gloves, and eye protection. Always point the blade away from your body. Finally, be sure to keep an eye out for people and animals nearby as you work to avoid any accidents.
4. Spot check
Just to be on the safe side, take a step back and admire your work when finished. This will give you the chance to clip any stray branches you missed, and check for uneven spots. While high spots will be easy to fix with a few extra cuts, a low spot can cause a bit more trouble. You’ll need to even out the surrounding areas so that the top of the hedge remains level. You can prevent this issue by paying close attention to dips in the lawn and other natural features as you make your original cuts.
With these four tips, you’ll have beautifully trimmed hedges in no time at all! Check back on our blog regularly for more great home improvement tips.