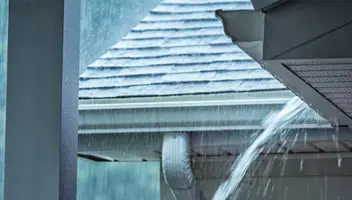
Prevent Roof & Gutter Damage
Buildups of ice and snow can cause major roof and gutter damage. It’s important to prepare now so that you can prevent problems later. Follow these 7 easy steps to get a step ahead of the game this winter.
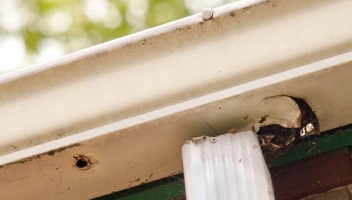
Step 1. Make Sure Your Gutters are Securely Screwed Into the Fascia Board
If your gutters are more than 15 years old, they might just be nailed in with a large spike. This technique is called “spike and ferrule” and after that period of time, it just doesn’t work. You won’t have a problem dealing with the heavy rains of the spring, but once you get a heavy log of snow or ice resting in the gutter, your gutter will begin to pry off of the house. Once there is a little bit of space between the gutter system and fascia, the rate in which they deteriorate really speeds up. The gutters won’t be able to handle the excess weight of ice and snow build up unless they’re securely screwed on = gutter damage!
Step 2. Ensure Your Gutters are Clean
If you don’t have a functioning gutter cover system, gutter cleaning is very important! You definitely want to make sure your gutters are clear of all leaves and debris before the snow and ice begins to accumulate. Without a gutter cover system, wet leaves will easily clog your gutters. However, your downspouts don’t stand a chance when the wet leaves start to freeze. Mixing in snow and ice will turn just a little bit of debris into very big gutter problems = gutter damage. Learn about the best gutter cleaning tools to make the gutter cleaning process a bit easier.
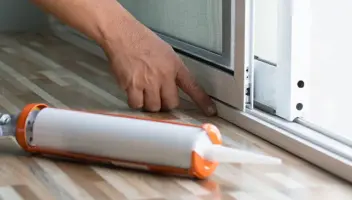
Step 3. Make Sure Your Shingles are Firmly Fastened to Your Roof
If you have an older roof, the roofing nails or tar sealing the shingles together might be worn out. If you can see the shingles flapping in the wind, that’s a telltale sign that something needs to be done. If water can get underneath the shingles, it can very easily get into your house. The potential for a serious problem is magnified during the winter when the water beneath your shingle will turn to ice. That ice on your roof will expand and contract as it melts and refreezes creating more space between your roof and the damaged shingle.
Step 4. Install Heating Cables on the Bottom of Your Roof
Although more costly than the previous three steps, if you live in a very cold climate, heating cables can help prevent the serious damage you would be susceptible to during a harsh winter. The cables will melt any excess snow or ice that has accumulated on the roof and allow it to run off as it normally would in warmer months. They can also keep the seams and edges of your roof clear of ice, which will help prevent water from entering and damaging your home.
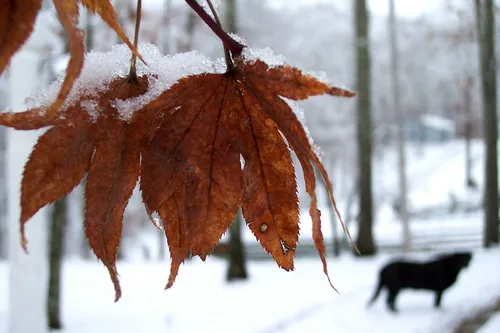
Ice Damage on Roof — 3 Steps Once Snow and Ice Begins to Fall
Step 5. Buy a Roof Rake
Roof rakes have only become a must-have winter accessory in the Northeast very recently. The past two winters, 2011 especially, dropped record-breaking snow and ice in the region. In addition to breaking records, the snow and ice also broke roofs, tree branches, and more than a few car windshields. Usually, for less than $50, you can pick up a roof rake at your neighborhood hardware store. The rake can be very helpful in pulling excess snow off your roof, just make sure to be mindful of the gutter system. The last thing you want to do is yank those off of your house by accident.
Step 6. Be Cautious of Your Roof Collapsing
It might be a long shot, but a roof collapse is probably the worst thing that could possibly happen to you during the winter. It will take a few feet of snow and a pretty flat pitch, but hundreds of roofs collapse throughout Canada every year. If you notice that during the wintertime, you have a hard time opening your doors or windows it usually means the frames have been warped or altered due to additional flex in the roof caused by the additional weight of ice and snow. Make sure not to ignore any creaking or popping sounds. It’s easy to chalk those up to regular noises in a home, but if there are two feet of snow on the roof, you definitely want to investigate.
Step 7. Use Common Sense
The thing about common sense is that it isn’t so common anymore. Take a few minutes after a big storm to scan your home top to bottom to check for weak spots or areas of particularly heavy snow and-or ice accumulation. If you happen to look up on your roof and see an avalanche in the making, take a little bit of action now to avoid taking a lot of action to handle a disaster down the road. Two feet of snow might sound manageable, but think of how heavy that snow is when you try to shovel it. Now picture how heavy those two feet of snow and ice will be when stretched across your 40 linear feet of gutter or 200 square feet of roof. Sounds like a lot, right?
There are definitely more than 7 tips for you to keep your roof and gutter system safe from damage this winter, but the ones mentioned above are a good place to start. Taking care of these 7 should help ensure that you won’t need to spend a few hours calling your homeowners insurance provider because of a huge disaster.